Landscape Photography: Capturing the Beauty of Nature
Landscape photography is more than just pointing a camera and clicking a button. It's about capturing the essence of a place, the feeling of standing amidst breathtaking scenery. This article will delve into the art of landscape photography, exploring techniques, essential gear, and offering product recommendations to help you elevate your nature photography game. Get ready to discover how to transform ordinary scenes into extraordinary images.
Understanding Landscape Photography Composition Techniques
Composition is king in landscape photography. It's how you arrange the elements within your frame to guide the viewer's eye and create a visually appealing image. Let's explore some key composition techniques:
- Rule of Thirds: Imagine your frame divided into nine equal parts by two horizontal and two vertical lines. Place key elements along these lines or at their intersections. This creates a more balanced and dynamic composition than centering the subject.
- Leading Lines: Use lines, such as roads, rivers, or fences, to draw the viewer's eye into the scene. Leading lines create depth and perspective.
- Framing: Use natural elements, like trees or arches, to frame your subject. This adds depth and context to the image.
- Foreground Interest: Include interesting elements in the foreground to add depth and scale to your landscapes. Rocks, flowers, or even puddles can work wonders.
- Symmetry and Patterns: Look for symmetrical scenes or repeating patterns in nature. These can create visually striking and harmonious images.
Essential Landscape Photography Gear Choosing the Right Camera
While a good eye is crucial, having the right gear can significantly enhance your landscape photography. Here's a breakdown of essential equipment:
- Camera: A DSLR or mirrorless camera with interchangeable lenses is ideal. Full-frame sensors generally offer better image quality, especially in low light. However, crop-sensor cameras are more affordable and lighter, making them a good option for beginners.
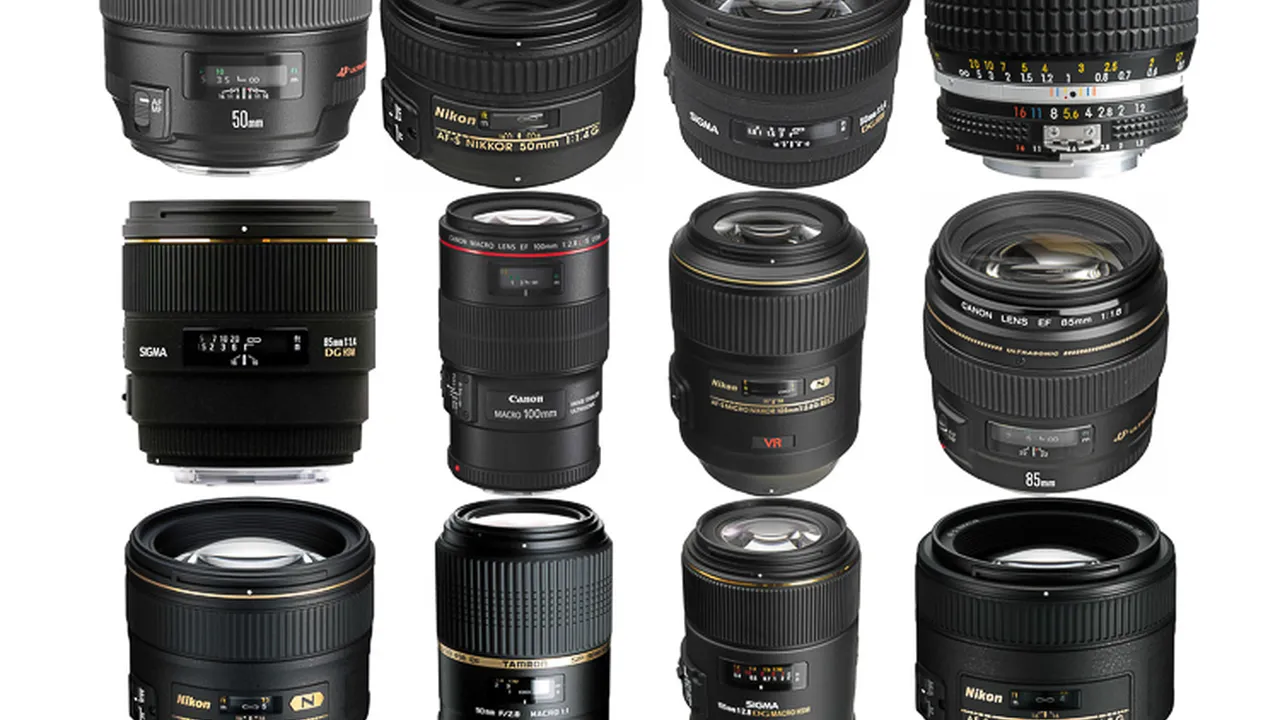
- Lenses:
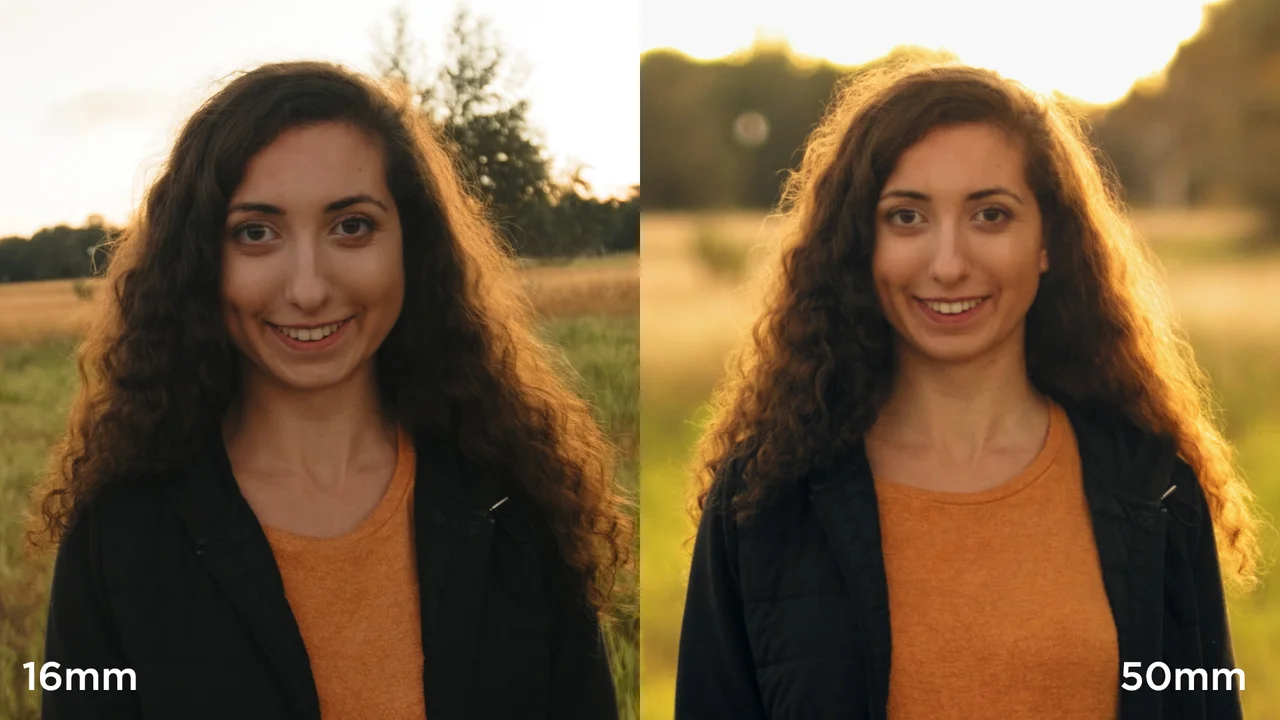
- Wide-Angle Lens (16-35mm): Essential for capturing expansive landscapes and creating a sense of depth.
- Standard Zoom Lens (24-70mm): Versatile for a variety of landscape scenes.
- Telephoto Lens (70-200mm or longer): Useful for compressing perspective and isolating distant subjects.
- Tripod: A sturdy tripod is essential for sharp images, especially in low light or when using long exposures.
- Filters:
- Polarizing Filter: Reduces glare and reflections, saturates colors, and darkens skies.
- Neutral Density (ND) Filter: Reduces the amount of light entering the lens, allowing for longer exposures in bright conditions.
- Graduated Neutral Density (GND) Filter: Darkens the sky while leaving the foreground untouched, balancing the exposure.
- Remote Shutter Release: Minimizes camera shake when using long exposures.
Recommended Landscape Photography Equipment Product Reviews and Comparisons
Let's dive into some specific product recommendations for landscape photography:
Wide-Angle Lenses for Landscape Photography
Sony FE 16-35mm f/2.8 GM
Description: A top-of-the-line wide-angle lens for Sony E-mount cameras. Known for its exceptional sharpness, fast aperture, and weather sealing. Use Case: Ideal for capturing expansive landscapes, astrophotography, and architectural photography. Pros: Excellent image quality, fast aperture, durable build. Cons: Expensive. Price: Around $2200.
Sigma 16-28mm f/2.8 DG DN Contemporary
Description: A more affordable wide-angle option for Sony E-mount and L-mount cameras. Offers good image quality and a compact design. Use Case: Suitable for general landscape photography, travel photography, and vlogging. Pros: Affordable, compact, good image quality. Cons: Not as sharp as the Sony GM lens, no weather sealing. Price: Around $900.
Comparison: Sony vs Sigma
The Sony 16-35mm f/2.8 GM offers superior image quality and weather sealing, making it a better choice for professional photographers or those who demand the best. The Sigma 16-28mm f/2.8 DG DN Contemporary is a more budget-friendly option that still delivers excellent results for most landscape photographers.
Tripods for Landscape Photography Stability and Support
Peak Design Travel Tripod
Description: A lightweight and compact travel tripod made from carbon fiber or aluminum. Features a unique design that folds down incredibly small. Use Case: Perfect for travel photography and hiking. Pros: Lightweight, compact, easy to use. Cons: Relatively expensive, not as stable as larger tripods. Price: Around $350 (aluminum) / $600 (carbon fiber).
Manfrotto 055 Carbon Fiber Tripod
Description: A robust and versatile tripod made from carbon fiber. Offers excellent stability and a wide range of adjustments. Use Case: Suitable for general landscape photography, studio photography, and videography. Pros: Very stable, versatile, durable. Cons: Heavier and bulkier than travel tripods. Price: Around $500.
Comparison: Peak Design vs Manfrotto
The Peak Design Travel Tripod is ideal for photographers who prioritize portability and ease of use. The Manfrotto 055 Carbon Fiber Tripod is a better choice for those who need maximum stability and versatility, even if it means carrying a heavier tripod.
Filters for Landscape Photography Enhancing Your Images
Lee Filters Big Stopper (10-Stop ND Filter)
Description: A high-quality 10-stop neutral density filter that allows for extremely long exposures, even in bright daylight. Use Case: Ideal for creating silky smooth water and dreamy cloudscapes. Pros: Excellent image quality, allows for creative long exposures. Cons: Expensive, can introduce a slight color cast. Price: Around $200.
NiSi Polarizing Filter
Description: A high-quality polarizing filter that reduces glare and reflections, saturates colors, and darkens skies. Use Case: Essential for landscape photography, especially when shooting near water or in bright sunlight. Pros: Improves image quality, easy to use. Cons: Can reduce light entering the lens. Price: Around $100.
Comparison: Lee Filters vs NiSi
Both Lee Filters and NiSi are known for producing high-quality filters. Lee Filters are often considered the gold standard, but NiSi offers comparable performance at a slightly lower price point. For a polarizing filter, NiSi is an excellent choice. For specialized filters like the Big Stopper, Lee Filters are a worthwhile investment.
Mastering Landscape Photography Settings Camera Settings and Techniques
Knowing your camera settings is crucial for capturing stunning landscapes. Here are some key settings to consider:
- Aperture: Use a narrow aperture (f/8 to f/16) for maximum depth of field, ensuring that everything from the foreground to the background is in focus.
- Shutter Speed: Adjust your shutter speed to achieve the desired exposure. Use a tripod for longer exposures.
- ISO: Keep your ISO as low as possible (ISO 100 or 200) to minimize noise.
- Focusing: Use manual focus and focus on a point about one-third of the way into the scene to maximize depth of field.
- White Balance: Choose the appropriate white balance setting for the lighting conditions (e.g., daylight, cloudy, shade).
- Shooting Mode: Shoot in aperture priority mode (Av or A) to control the depth of field, or use manual mode (M) for full control over all settings.
- Raw Format: Shoot in raw format to capture more information and allow for greater flexibility in post-processing.
Post-Processing Landscape Photography Editing Techniques and Software
Post-processing is an essential part of landscape photography. It allows you to enhance your images and bring out their full potential. Here are some common post-processing techniques:
- Exposure Adjustment: Adjust the overall brightness of the image.
- Contrast Adjustment: Increase or decrease the contrast to enhance the details in the image.
- Color Correction: Adjust the white balance and color saturation to achieve the desired look.
- Sharpening: Sharpen the image to enhance the details.
- Noise Reduction: Reduce noise in the image, especially in low-light conditions.
- Dodging and Burning: Lighten or darken specific areas of the image to draw attention to certain elements.
- Gradient Filters: Simulate the effect of graduated neutral density filters in post-processing.
Popular software for post-processing landscape photos includes Adobe Lightroom, Adobe Photoshop, and Capture One.
Finding the Perfect Landscape Photography Locations Scouting and Planning
Finding the right location is key to capturing stunning landscape photos. Here are some tips for scouting and planning:
- Research: Use online resources, such as Google Maps, 500px, and Instagram, to find potential locations.
- Scouting: Visit potential locations in advance to assess the light and composition possibilities.
- Weather Forecast: Check the weather forecast to plan your shoot accordingly.
- Time of Day: The best time to shoot landscapes is during the golden hours (shortly after sunrise and before sunset) when the light is soft and warm.
- Tidal Charts: If shooting near the coast, consult tidal charts to plan your shoot around low tide or high tide.
Landscape Photography Tips and Tricks for Beginners
Here are some additional tips and tricks to help you improve your landscape photography:
- Shoot in the golden hour: The light is soft and warm during the golden hours, creating beautiful colors and shadows.
- Use a tripod: A tripod is essential for sharp images, especially in low light.
- Experiment with different compositions: Try different angles and perspectives to find the most compelling composition.
- Pay attention to the weather: Dramatic weather can create stunning landscape photos.
- Be patient: Landscape photography often requires patience. Wait for the right light and the right conditions.
- Practice: The more you practice, the better you'll become at landscape photography.
:max_bytes(150000):strip_icc()/277019-baked-pork-chops-with-cream-of-mushroom-soup-DDMFS-beauty-4x3-BG-7505-5762b731cf30447d9cbbbbbf387beafa.jpg)