Black and White Conversion in Lightroom: Mastering Monochrome
Black and white photography holds a timeless appeal, offering a unique way to express artistic vision and emphasize form, texture, and light. Mastering monochrome conversion in Lightroom is crucial for photographers aiming to create stunning black and white images. This guide dives deep into the process, exploring essential techniques, showcasing product recommendations, and comparing different approaches to help you elevate your black and white photography.
Converting your color images to black and white in Lightroom is more than just hitting the "Black & White" button. It's about carefully crafting a monochrome image that captures the essence of your subject and evokes the desired mood. This guide will walk you through the process, from basic adjustments to advanced techniques, ensuring you create breathtaking black and white photos.
Understanding Lightroom's Black and White Conversion Tools
Lightroom offers a range of tools specifically designed for black and white conversion. Let's explore the key features:
The B&W Panel: Your Monochrome Command Center
The B&W panel, located in the Develop module, is your primary tool for converting color images to black and white. Here, you can adjust the individual color channels (Reds, Oranges, Yellows, Greens, Aquas, Blues, Purples, and Magentas) to control the brightness and contrast of different tones in your monochrome image.
How it works: Each slider represents a color range in your original color image. By moving a slider to the right, you brighten that color range in the black and white conversion. Moving it to the left darkens that color range. This allows you to fine-tune the tonal values and create a more nuanced and impactful black and white image.
Example: If you have a photo of a red rose, and you want the rose to appear brighter in the black and white version, you would increase the "Reds" slider. Conversely, if you wanted the rose to appear darker, you would decrease the "Reds" slider.
Tone Curve: Fine-Tuning Contrast and Tonal Range
The Tone Curve is another powerful tool for adjusting the overall contrast and tonal range of your black and white images. You can use it to create a wide range of effects, from high-contrast images with deep blacks and bright whites to more subtle and nuanced tones.
How it works: The Tone Curve is a graph that represents the relationship between the input tones (original image) and the output tones (black and white conversion). By adjusting the curve, you can remap the tonal values and create different contrast levels.
Example: An S-curve (increasing contrast in the midtones) is a classic technique for adding punch and visual interest to black and white images. A flatter curve will result in a more muted and less contrasty image.
Graduated Filter and Radial Filter: Selective Adjustments
The Graduated Filter and Radial Filter tools allow you to make selective adjustments to specific areas of your image. This is particularly useful for enhancing skies, adding depth to landscapes, or drawing attention to specific subjects.
How it works: The Graduated Filter creates a gradual transition from one set of adjustments to another, while the Radial Filter creates a circular or elliptical area of adjustment. You can adjust the exposure, contrast, highlights, shadows, whites, blacks, clarity, and sharpness within these areas.
Example: Use a Graduated Filter to darken a bright sky in a landscape photo, adding drama and detail to the clouds. Use a Radial Filter to brighten a subject's face, drawing the viewer's eye to the focal point of the image.
Adjustment Brush: Precise Control
The Adjustment Brush allows for extremely precise and localized adjustments. You can "paint" adjustments onto specific areas of your image, targeting the exact tones and details you want to modify.
How it works: Select the Adjustment Brush, choose your desired settings (exposure, contrast, clarity, etc.), and then paint over the areas you want to adjust. You can adjust the brush size, feather, and flow for maximum control.
Example: Use the Adjustment Brush to selectively darken the shadows in a portrait, adding depth and dimension to the subject's face. Or use it to sharpen specific details in a landscape, such as rocks or trees.
Advanced Black and White Conversion Techniques in Lightroom
Once you've mastered the basic tools, you can explore more advanced techniques to create truly exceptional black and white images.
Split Toning: Adding Subtle Color Tints
Split Toning allows you to add subtle color tints to the highlights and shadows of your black and white images. This can create a unique and artistic effect, adding warmth, coolness, or a vintage feel to your photos.
How it works: The Split Toning panel has two sections: Highlights and Shadows. For each section, you can choose a hue and saturation value. The hue determines the color tint, and the saturation determines the intensity of the tint. The Balance slider controls the relative strength of the highlight and shadow tints.
Example: Adding a warm sepia tone to the highlights and a cool blue tone to the shadows can create a classic vintage look. Experiment with different color combinations to find the effects you like best.
Using Presets: Speeding Up Your Workflow
Lightroom presets are pre-configured sets of adjustments that can be applied to your images with a single click. There are many black and white presets available, ranging from classic monochrome styles to more experimental and artistic looks.
How it works: You can find presets in the Develop module, in the Presets panel. Simply click on a preset to apply it to your image. You can then fine-tune the adjustments to your liking.
Benefits: Presets can save you time and effort by providing a starting point for your black and white conversions. They can also help you discover new styles and techniques.
The Importance of RAW Files: Maximizing Tonal Range
Shooting in RAW format is crucial for maximizing the tonal range and detail in your black and white images. RAW files contain more information than JPEGs, allowing for greater flexibility in post-processing.
Why RAW matters: RAW files preserve more of the original data captured by your camera's sensor. This means you have more latitude to adjust the exposure, contrast, and other settings without introducing artifacts or losing detail.
Tip: Always shoot in RAW format when you plan to convert your images to black and white.
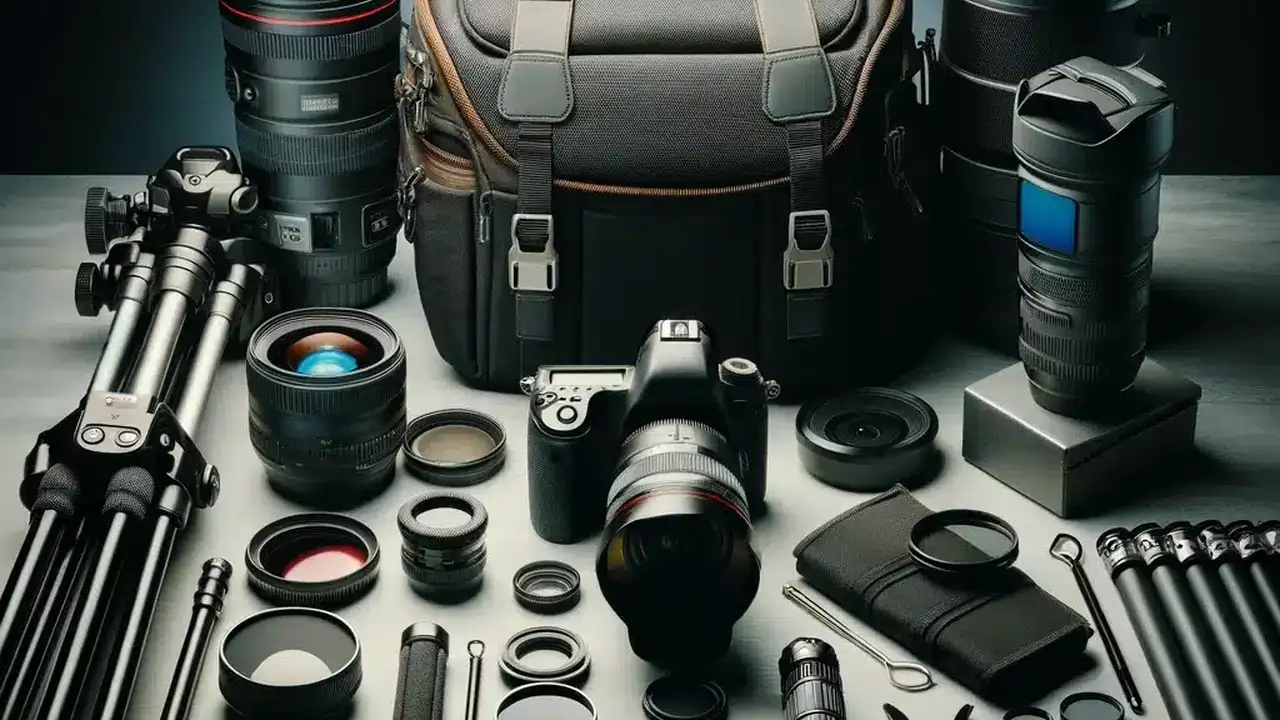
Product Recommendations for Black and White Photography Enthusiasts
To truly elevate your black and white photography, consider these equipment and software recommendations:
Software: Silver Efex Pro 3 (by Nik Collection)
Description: Silver Efex Pro 3 is a dedicated black and white conversion plugin that offers unparalleled control and creative possibilities. It's considered by many to be the gold standard for black and white processing.
Key Features:
- Intuitive Interface: Easy to navigate and use, even for beginners.
- Advanced Controls: Fine-tune every aspect of your black and white conversions.
- Film Emulations: Recreate the look of classic black and white films.
- Local Adjustments: Precisely target specific areas of your image.
Use Cases: Ideal for photographers who demand the highest quality and control over their black and white conversions, especially those who appreciate the look of traditional film.
Pricing: Part of the Nik Collection by DxO. The entire suite (including Silver Efex Pro 3) typically costs around $149.
Lens Filters: Polarizing Filter
Description: While not strictly for black and white, a polarizing filter can dramatically improve your landscape photography, which often translates beautifully into monochrome.
How it helps: Reduces glare and reflections, deepens blue skies, and increases contrast and saturation (which can be adjusted in Lightroom later for black and white). This gives you a richer starting point for your conversion.
Use Cases: Landscape photography, architecture photography (reducing reflections on buildings).
Product Recommendation: B+W XS-Pro Digital MRC nano Polarizer. Known for its high quality glass and multi-resistant coating.
Pricing: Varies depending on the lens size, but typically ranges from $80 to $200.
Lens Filters: Yellow, Orange, Red Filters (Physical or Digital Emulation)
Description: Traditionally used in black and white film photography, these filters selectively block certain wavelengths of light, impacting the tonal representation in the final image. Lightroom allows for digital emulation of these filters.
How they help:
- Yellow Filter: Lightens yellows and greens, darkens blues slightly. Great for portraits and landscapes.
- Orange Filter: More pronounced effect than yellow, darkens blues further, enhances clouds.
- Red Filter: Dramatic effect, darkens blues and greens significantly, creates strong contrast, dramatic skies.
Use Cases: Landscape photography (especially skies), portrait photography (with yellow filter for softer skin tones).
Product Recommendation (Physical Filters): Tiffen filters are a reputable and affordable option.
Pricing (Physical Filters): Around $30-$50 per filter, depending on size.
Monitors: Calibrated Monitor
Description: A calibrated monitor is essential for accurate color representation, even when working in black and white. It ensures that the tones you see on your screen are accurate, leading to better results.
Why it matters: Without a calibrated monitor, you may be making adjustments based on inaccurate information, resulting in black and white images that look different on other screens or in print.
Product Recommendation: Datacolor SpyderX Pro. User-friendly and provides accurate calibration.
Pricing: Around $170 - $270.
Comparing Black and White Conversion Methods
There are several ways to convert color images to black and white in Lightroom and other software. Here's a quick comparison:
- Lightroom B&W Panel: Good for basic conversions and fine-tuning individual color channels.
- Lightroom Presets: Quick and easy, but may require further adjustments.
- Silver Efex Pro 3: Offers the most control and advanced features, ideal for professional results.
- Photoshop's Black & White Adjustment Layer: Similar to Lightroom's B&W panel but within Photoshop's layer-based workflow.
Which method is best? It depends on your needs and preferences. For quick and simple conversions, Lightroom's B&W panel is a good choice. For more advanced control and creative possibilities, Silver Efex Pro 3 is the clear winner.
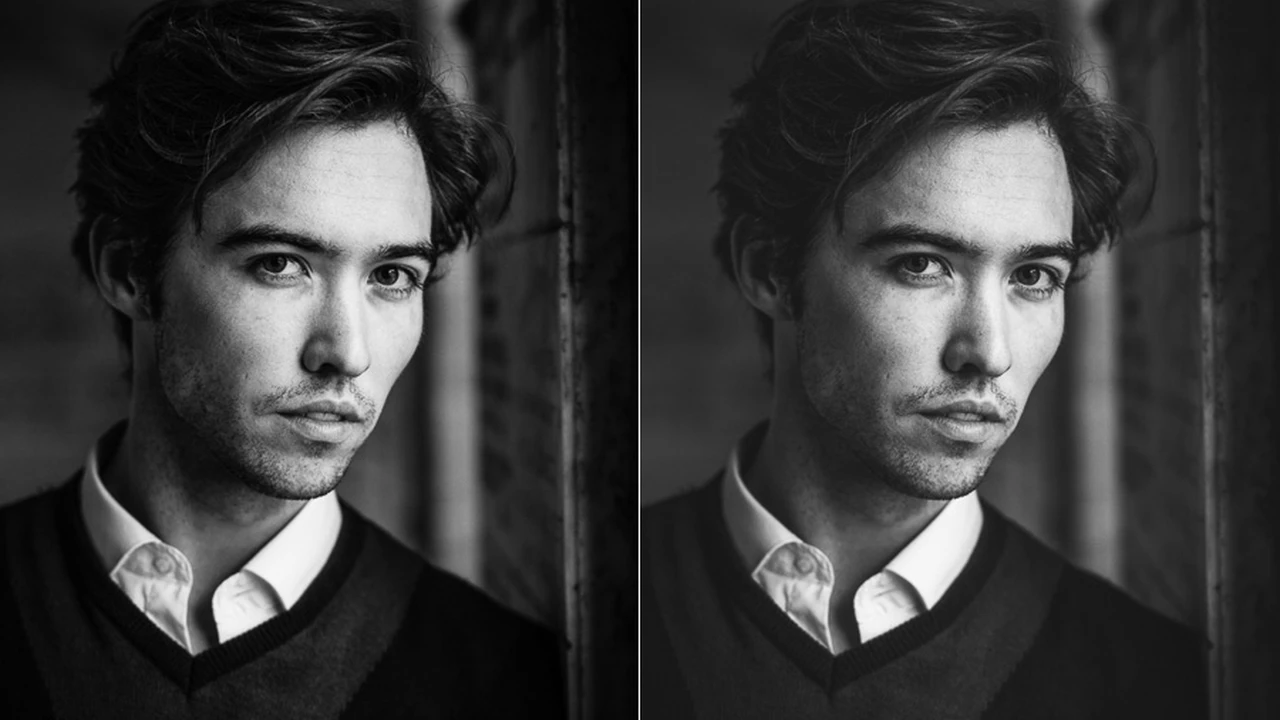
Tips and Tricks for Mastering Monochrome
Here are some additional tips to help you create stunning black and white images:
- Pay attention to composition: Strong composition is even more important in black and white photography.
- Focus on texture and form: Black and white emphasizes these elements.
- Experiment with different tonal ranges: Try high-contrast, low-contrast, and everything in between.
- Don't be afraid to make mistakes: The best way to learn is to experiment and see what works.
- Study the work of master black and white photographers: Learn from the best.
:max_bytes(150000):strip_icc()/277019-baked-pork-chops-with-cream-of-mushroom-soup-DDMFS-beauty-4x3-BG-7505-5762b731cf30447d9cbbbbbf387beafa.jpg)